Aptana Studio 3(エディター)のダウンロードとインストール
Aptana Studio 3(フリーソフトウェア)というエディター上でSelenium Rubyのテストコードを記述し実行していくことにします。
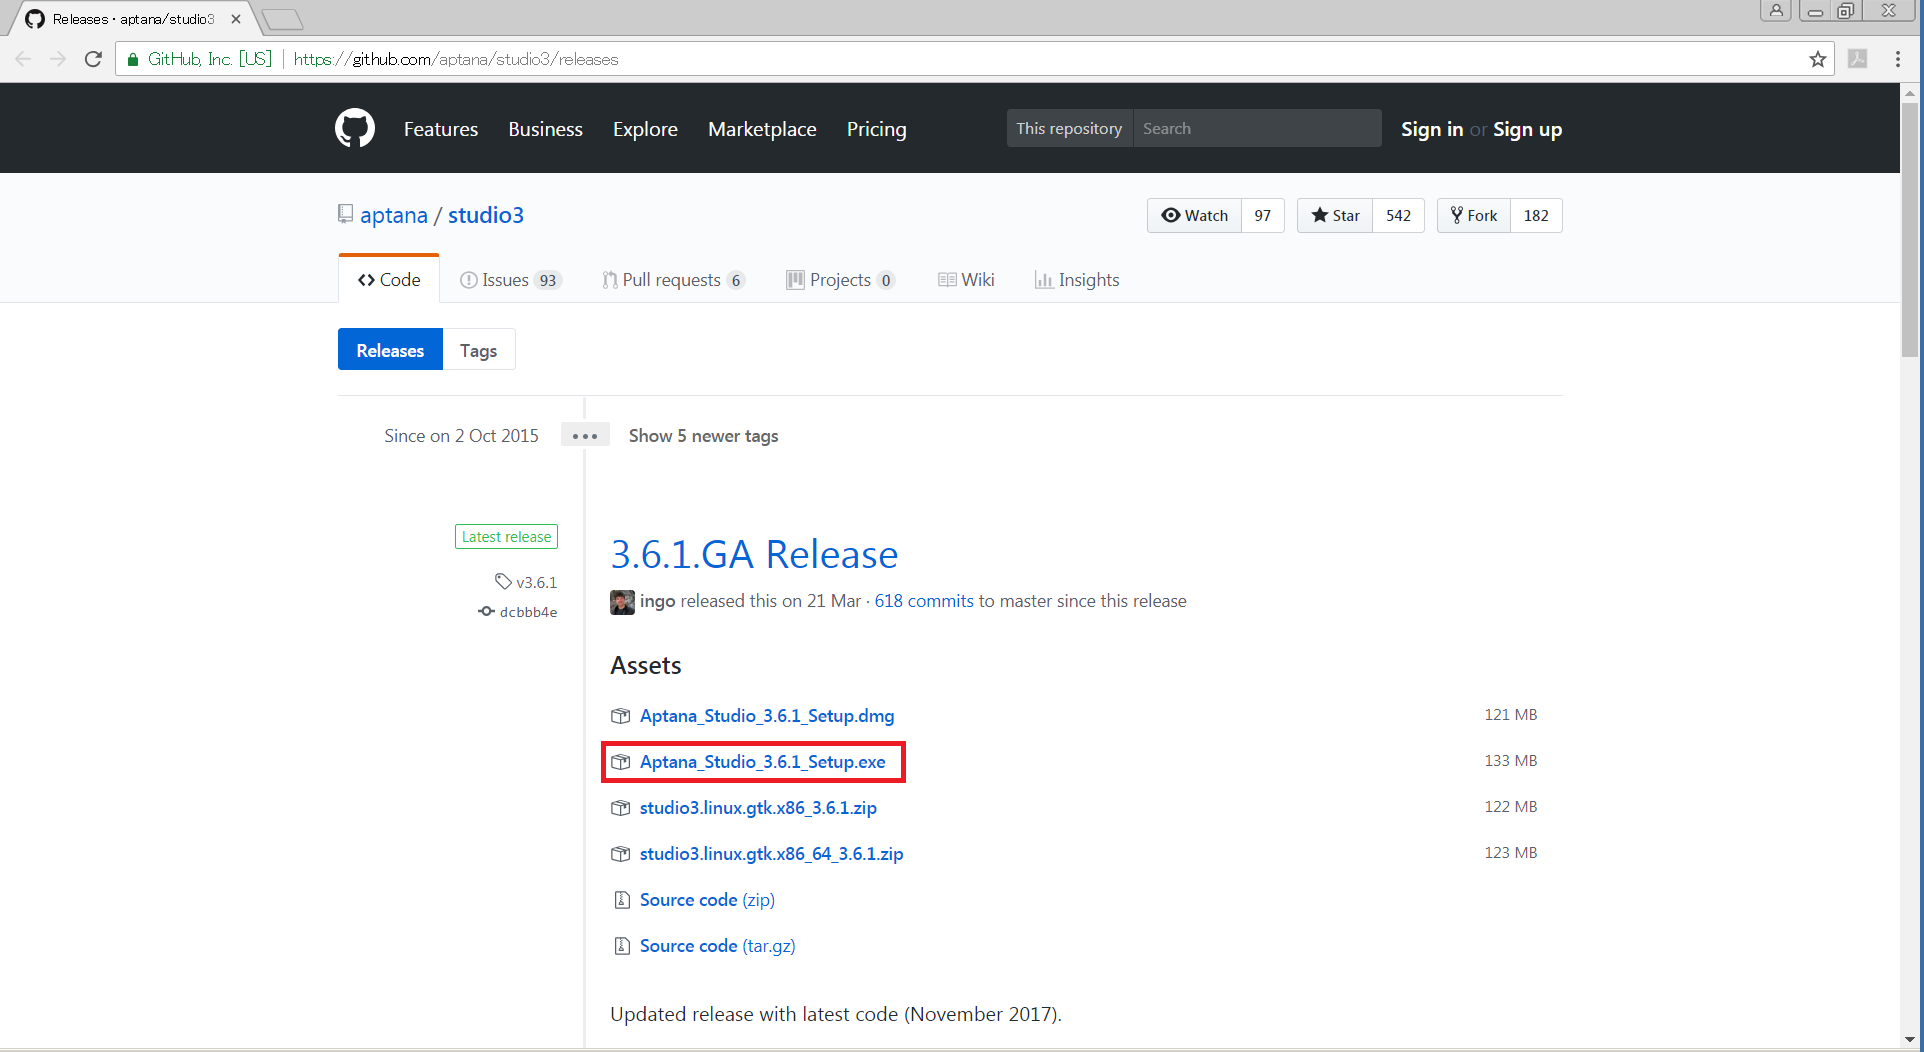
まず初めにAptana Studio 3をインストールしていきます。Aptana Studio 3は以下のサイトからダウンロードします。
「Aptana_Studio_3.6.1_Setup.exe」をクリックしファイルをダウンロードします。
ここで、ダウンロードされたexeファイルをダブルクリックしてインストールを進めていくと以下のメッセージが出てインストールが止まってしまいます。
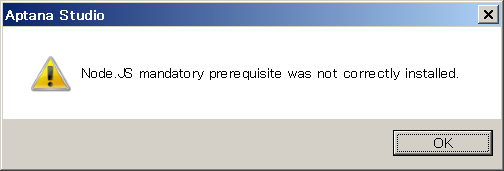
正常にaptana studio 3をインストールするためには、コマンドラインからインストールを実行する必要があります。
コマンドプロンプトを起動し、ダウンロードしたファイル「Aptana_Studio_3.6.1_Setup.exe」が存在するパスを、カレントパスにしたら以下のように入力し実行します。
Aptana_Studio_3.6.1_Setup.exe /passive /norestart
しばらくするとaptana studi 3のインストールが終了します。
以上がaptana studio 3のインストールとなります。
前のページへ次のページへ
Fatal error: Uncaught Google_Service_Exception: Error calling GET https://www.googleapis.com/analytics/v3/data/ga?ids=ga%3A138132118&start-date=7daysAgo&end-date=yesterday&metrics=ga%3Apageviews&dimensions=ga%3ApageTitle%2C+ga%3ApagePath&sort=-ga%3Apageviews&max-results=1000: (404) <!DOCTYPE html>
<html lang=en>
<meta charset=utf-8>
<meta name=viewport content="initial-scale=1, minimum-scale=1, width=device-width">
<title>Error 404 (Not Found)!!1</title>
<style>
*{margin:0;padding:0}html,code{font:15px/22px arial,sans-serif}html{background:#fff;color:#222;padding:15px}body{margin:7% auto 0;max-width:390px;min-height:180px;padding:30px 0 15px}* > body{background:url(//www.google.com/images/errors/robot.png) 100% 5px no-repeat;padding-right:205px}p{margin:11px 0 22px;overflow:hidden}ins{color:#777;text-decoration:none}a img{border:0}@media screen and (max-width:772px){body{background:none;margin-top:0;max-width:none;padding-right:0}}#logo{background:url(//www.google.com/images/branding/googlelogo/1x/googlelogo_c in /home/users/1/monda-muki/web/seleniumqref.com/google-api-php-client-1-master/src/Google/Http/REST.php on line 110